
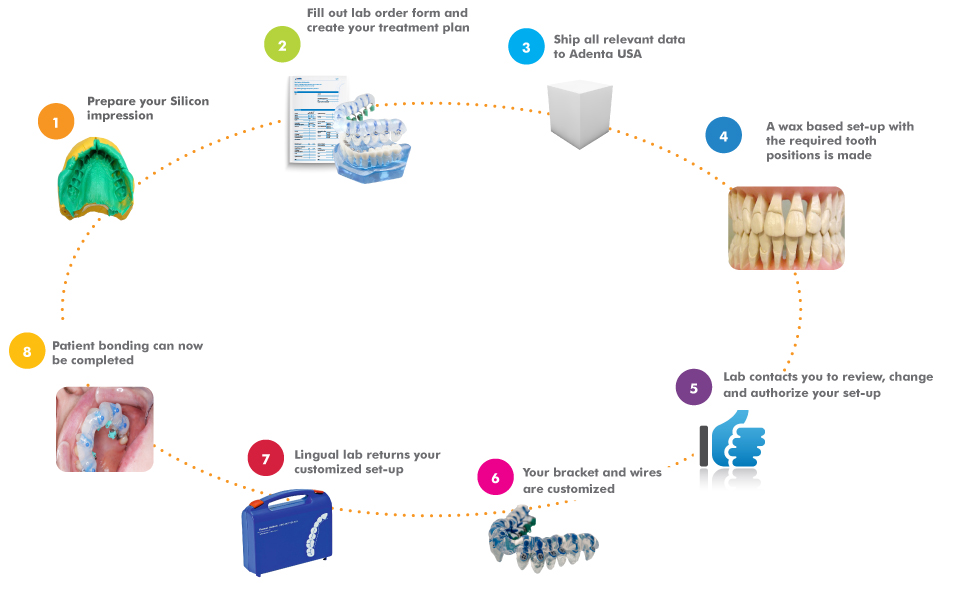
How to submit your lingual cases
|
Taking the perfect Silicon impression - tools & tips
The aim is to provide an accurate representation of the malocclusion using an A-silicone-based impression and a corrective impression.
Preparation for the impression
Dental cleaning: The teeth should have no deposits such as plaque or tartar. Use prophylactic measures where necessary. |
Undercuts:
Crowns with border seals and provisional crowns are especially at risk of coming loose as a result of the dental impression. Strong undercuts should therefore be blocked out with wax in advance. Interlinks must also be blocked for bridges. All dental caries should be completed by this date. Any new restorative work should, if possible, be postponed until the orthodontic treatment is complete
Crowns with border seals and provisional crowns are especially at risk of coming loose as a result of the dental impression. Strong undercuts should therefore be blocked out with wax in advance. Interlinks must also be blocked for bridges. All dental caries should be completed by this date. Any new restorative work should, if possible, be postponed until the orthodontic treatment is complete
|
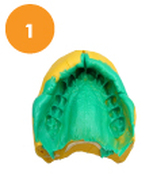
A. Knead the individual components of the putty material together in equal parts (note the handling instructions provided by the manufacturer). Do not use latex gloves during this process, as this material affects the setting properties of the silicone compound. Place slightly more putty in the distal area to create an edge like boundary. Rarely does the tray have to be customized with boxing wax.
|
|
B. Now place Plicafol separating foil on top of the putty and apply gentle pressure. Fold back or cut off the overlapping parts of the separating foil.
|
|
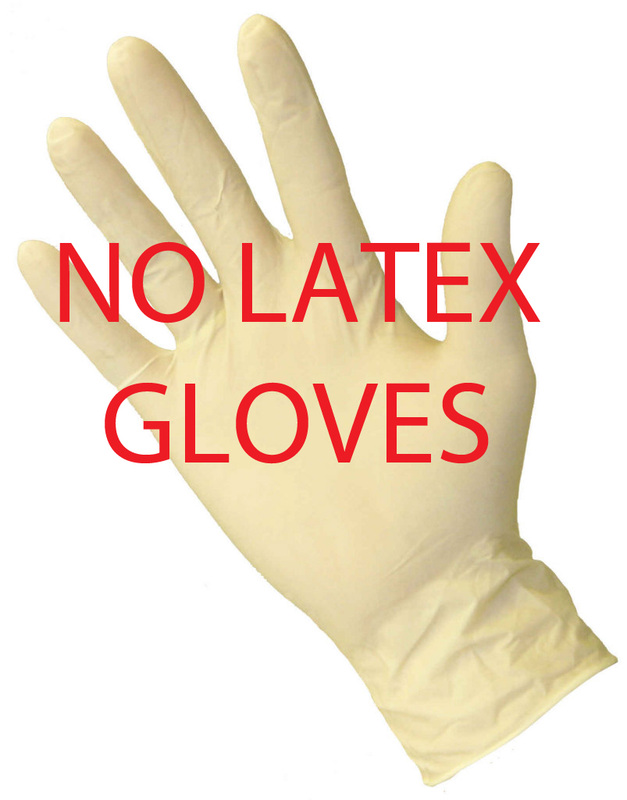
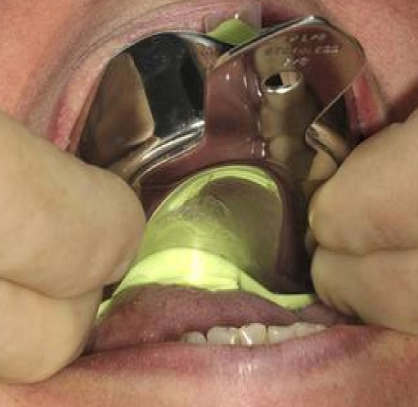
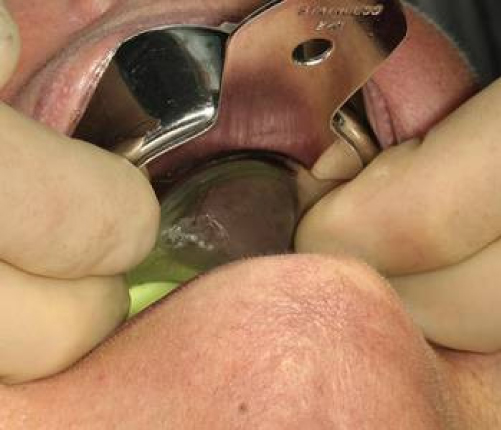
C. The initial impression can now be taken from the patient. Forcefully press the tray filled with putty and covered by the foil onto the teeth of the patient. Keep the tray in place by equally and centrically applied constant pressure, so the foil and the putty will surround the teeth – use two fingers in the maxilla on each side and one thumb in the mandible on each side. Push back any putty that spread past the tray with the dental mirror towards the last teeth to be molded.
|
|
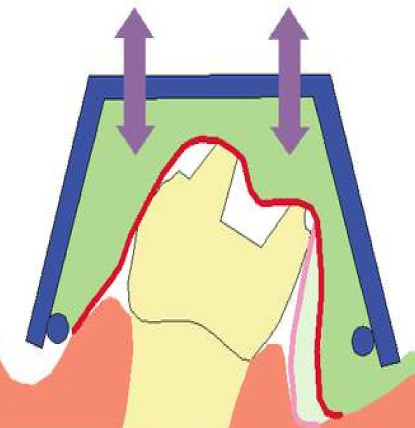
D. Move the tray up and down and slightly back and forth immediately after positioning. Doing so ensures that no overlapping areas/undercuts remain and that a large enough space layer is created. Moving the tray allows for the assessment of the repositioning capability of the tray for the later, second impression phase. The up and down movement is especially important in the mandible, where the teeth lean towards the tongue.
|
|
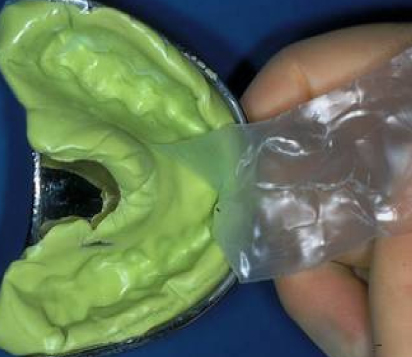
E. Take out the tray and remove the foil after the putty is set.
Due to the pronounced elasticity of Plicafol, there will be no perforations or folds. The result is a custom made tray without undercuts, showing rough tooth indentations and a defined space layer. The surface is uncontaminated by saliva or blood. |
Second Impression - apply free-flowing silicone
To make the second impression-taking is easier and more comfortable for the patient, any excess putty compound
on the edge of the tray should be cut off. However, anything up to 5 mm from the sulcus should be left in place.
The silicone impression compounds are hydrophilic, however an additional step to dry the teeth with air helps to safeguard the quality of the impression.
|
A. The following steps represent the actual impression taking. Foil impression is much more comparable with the one-step impression technique than with the two-step dental impression technique.
Fill free-flowing silicone of medium consistency into the pre-impression in a thickness of 3 mm. Put the filled tray aside briefly. |

|
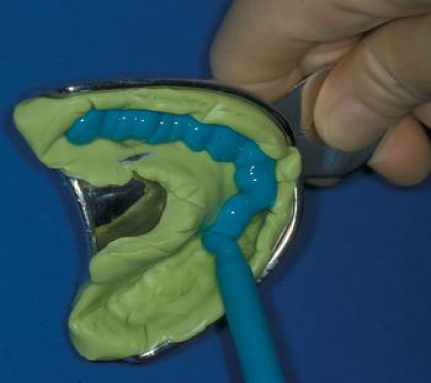
B. Coat the teeth, starting at the gingiva in the occlusal direction, coat the air-dried teeth with free-flowing silicone of medium or low consistency by use of the proper syringe until they are covered completely.
|
|
C. Bring the filled tray evenly and with moderate pressure into position. Hold it in place until the silicone is completely set.
Now the impression is finished and can be removed. |
Impressions Using Bands:
If the impression is taken using bands, please ensure a sufficiently large impression tray is used given the usual buccal attachments. The attachments must also be adequately covered with dental wax for the putty impression in order to create the space required for the corrective compound. The impression can now be taken using the putty compound and Plicafol. However, if the impression is taken without using bands, please enclose the appropriate bands for the impression. The bands will be transferred to the model teeth as part of the work undertaken in the laboratory.
If the impression is taken using bands, please ensure a sufficiently large impression tray is used given the usual buccal attachments. The attachments must also be adequately covered with dental wax for the putty impression in order to create the space required for the corrective compound. The impression can now be taken using the putty compound and Plicafol. However, if the impression is taken without using bands, please enclose the appropriate bands for the impression. The bands will be transferred to the model teeth as part of the work undertaken in the laboratory.

|
Fill out your order form and provide your treatment plan
Take Panoramic & X-rays
• A cephalogy chart to value all profile characteristics. • Panoramic and lateral x-rays for bone, root and tissue orientation.
| ||
|
Ship your lingual case
Please always ship your lingual cases in a shipment that can be easily tracked
Include the following in your shipment: • Patients RX treatment plan - completed lab form • A silicon impressions • Cephology chart • Panoramic and lateral x-rays |
|
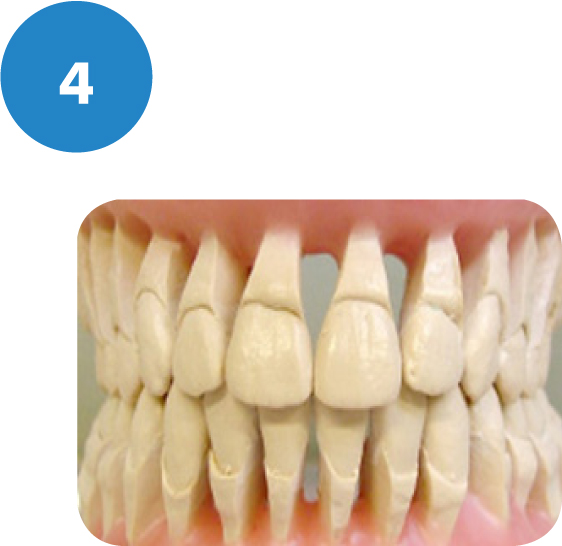
Wax based set-up
We create a specific set-up in accordance with the treatment plan. Documents such as treatment plans and x-ray images can significantly help the laboratory in this regard. All relevant over-corrections, such as any approximal enamel reduction (AER) and torque, are incorporated into the set-up. The position of the tooth in the set-up is crucial.
|

|
Communication and approvals with you
Active control of the set-up by you as a specialist is an essential part of our work together. For this work step, we create digital photos of the set-up and malocclusion and send them to you via email. It is also possible to perform a check of the wax set-up at your practice so that you can make your own changes. A commitment to cooperation between the practice and laboratory is essential. Final production of the “dental brace” begins only after we receive your consent.
|
|
Brackets, trays and wires are now customizedIndividual caps and full silicon trays can now be fabricated.
Our lingual lab will supply you with a customized archform template. You can use this template to bend all the archwires you need for your case. If required, we will produce the treatment arches for you. The following wires can be customized for your case: Heat Activated Niti - THERMADENT™ Lingual Nickel Titanium - FLEXADENT™ Lingual Stainless Steel - DURADENT™ Lingual Beta III - TRIDENT™ CNA BETA II Lingual |
|
Lab ships your lingual case back to you
|
|
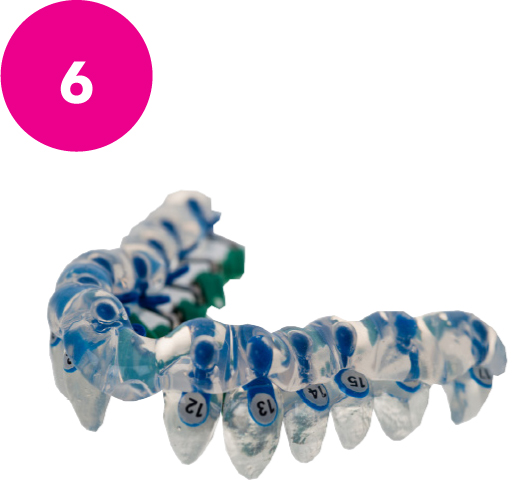
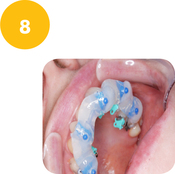
Patient bonding appointment
The tray is designed so that the fixed plastic caps are embedded within the silicone tray and designed to easily compensate for any positional deviation of the teeth (impression appointment–bonding appointment).
Note regarding the full tray: If there is limited space for all caps to be bonded at once, then individual caps can be omitted accordingly, and can be either bonded individually or placed back in the silicon tray for 2nd bonding stage. |
|
|
|
Mailing address: Germany - Head Office
Adenta GmbH Gutenbergstrasse 9, D-82205 Gilching Germany | T. +49 8105-73436-0 | F. +49 8105-73436-22 | Email. [email protected]
Adenta GmbH Gutenbergstrasse 9, D-82205 Gilching Germany | T. +49 8105-73436-0 | F. +49 8105-73436-22 | Email. [email protected]
|
Copyright © 2015 Adenta GmbH. All rights reserved.
Imprint |

|