
Course details
Many of the products we carry have been invented or co-developed by orthodontic specialists within a specific field. Each inventor and co-devloper can travel and present full educational courses in your area.
|
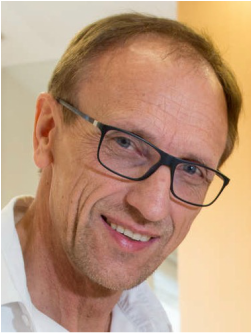
Dr. Heinz Winsauer
FLEX DEVELOPER™ the unbreakable Class II correction device This One-day-course mainly focuses on orthodontists and dentists, who want to improve their treatment technique in compliance free class II. The difference, the advantages and the disadvantages between Cl II „pulling“ appliances (Cl II elastics) and Cl II „pushing“ appliances and especially the Flex Developer® will be explained. Indications and contraindication will be explained thoroughly. This easy to insert appliance will make Cl II corrections fast and fully compliance free. Side effects like bite opening do not appear. The Flex Developer is a highly robust and unbreakable appliance that will most likely fulfill your expectations of Cl II correction. The Flex Developer is also a reliable tool to create space in the upper arch without headgear. Even more the FD is a most effective to close spaces after agenesis of lower second premolars. A very powerful indication for the use of the FD is the dental decompensation of skeletal Cl III cases prior to orthognathic surgery. Like in many orthodontic practices the life of our patient is becoming busier and more complicated. In most cases time efficient and cost efficient solutions with excellent results are expected. The routine use of the Flex Developer will meet your own as well as the patient’s expectations of an efficient treatment. We all know that the most valuable asset is chair time. The ease of use and the robustness of this appliance are reliable factors to achieve these goals. Every participant will be personally trained to place a Flex Developer in a typodont. Different activation steps and the removal of the appliance will be done under supervision step by step.
|

|
Dr. Hatto Loidl
Lingual Orthodontics and Biomechanics – Part 1 1. Preconditions for lingual treatment success
Lingual treatment planning and lingual mechanics – Mechanics of lingual vs. labial orthodontics
3. Live Patient bonding 4. Treatment concepts
|
Brackets, wires, and typodonts for the Hands-On part will be provided by Adenta GmbH. Material to bring to the course by the participants:
|
|
Brackets, wires, and typodonts for the Hands-On part will be provided by Adenta GmbH. Material to bring to the course by the participants:
|
|
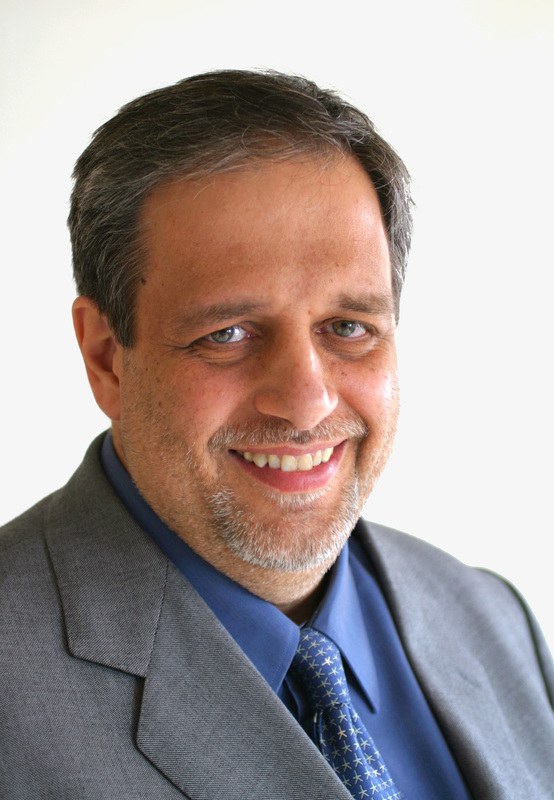
Dr. Pablo Echarri
Custom-made Lingual Orthodontics CLO
|

|
Custom-made Lingual Orthodontics in 3 Steps COL3
Duration: 7 hours - Location: LADENT, Barcelona - Languages: English / Spanish
• Indications and limitations. • Lingual brackets for alignment. • Indirect bicuspid-to-bicuspid bonding. • Indirect re-bonding. • Alignment arch wires. • Impressions with lingual brackets. • Finishing adjustments. • Fixed retention. • Hand-on part will be carried out on ty
You should send us the initial model, and LADENT will send you the CLO3 kit, which includes:
|

|
Lab Technician José Fernandez and Dr. Martín Pedernera
Duration 8 hours Location: LADENT, Barcelona / customer laboratory Languages: English / Spanish Diploma: YES Learn how to customize lingual and vestibular brackets directly on the malocclusion model and create the indirect transfer system .
The theory at a glance:
The Hands-On-Part at a glance:
|
|
|
|
Mailing address: Germany - Head Office
Adenta GmbH Gutenbergstrasse 9, D-82205 Gilching Germany | T. +49 8105-73436-0 | F. +49 8105-73436-22 | Email. [email protected]
Adenta GmbH Gutenbergstrasse 9, D-82205 Gilching Germany | T. +49 8105-73436-0 | F. +49 8105-73436-22 | Email. [email protected]
|
Copyright © 2015 Adenta GmbH. All rights reserved.
Imprint |

|